Posted on Leave a comment

Redefining Depth: The Power of Focus Spread

The video is a tutorial for the Lytro Desktop Software version 4, specifically highlighting the revolutionary Focus Spread feature. This feature allows users to control the range of focus in an image after it has been captured, a capability unique to Lytro’s light-field technology.

Introducing Focus Spread
(Source: Lytro, March 13, 2018, Original URL, Archived URL)

Video Summary

Time RangeDescription
00:00 – 00:09Introduction: Title card showing the Lytro camera. The narrator introduces Lytro Desktop Software version 4.1 and mentions workflow enhancements and the “Focus Spread” feature.
00:10 – 00:18Photographer’s Perspective: Stephen Eastwood, a fashion and beauty photographer, explains the flexibility “Focus Spread” provides, allowing him to control the range of focus from a single shot.
00:19 – 00:25Behind the Scenes: A scene in a studio where Stephen is shooting two models. He decides to “fix it in post,” demonstrating the power of Lytro’s light-field capture.
00:26 – 00:28Workflow: A close-up of a hand inserting an SD card into a card reader, showing the transition from capture to post-processing.
00:29 – 00:48Software Demo – Initial Focus: Christina Szczupak, a photo editor at Lytro, and Stephen are at a computer. Christina demonstrates how they can adjust the focus to f/16 to bring both models into focus, but Stephen notes the background is too “busy.”
00:49 – 01:17Software Demo – Focus Spread: Christina explains how she adjusted the image to f/16 for the models and then shifted the “Focus Spread” to push the background out of the refocusable range, effectively blurring it while keeping both models sharp.
01:18 – 01:30Capture: A close-up of the Lytro Illum camera screen as Stephen takes a shot, showing the real-time feedback and focus options.
01:31 – 02:22Deep Dive into Focus Spread Tools: Christina shows the “Focus Spread” slider in the software. She explains the color-coded guides: blue for foreground and orange for background. Moving the sliders adjusts the “refocusable range.”
02:23 – 02:34f/1 Background Blur: Christina demonstrates pushing the background to f/1 while keeping the models at f/16 for maximum sharpness and isolation.
02:35 – 03:09Advanced Depth Tools: Introduction of the Depth Map and the Depth Assist button, providing a visual representation of foreground, middle ground, and background. Christina also shows the 1-to-1 viewer for checking sharpness.
03:10 – 03:26Conclusion: Stephen and Christina recap the benefits of the new software, emphasizing the newfound control and workflow improvements.
03:27 – 03:38Montage: A series of photographs showcasing the refocusing capabilities of Lytro cameras.
03:39 – 03:48Closing: Credits and Lytro logo with the tagline “Life in a Different Light.”

Key Takeaways

Post-Capture Focus Control: The primary breakthrough of Focus Spread is the ability to adjust the range of focus after the shot is taken, essentially allowing photographers to “fix it in post” without losing image quality.

Independent Subject and Background Tuning: Photographers can now decouple the sharpness of the subject from the blur of the background. For example, you can set the subjects to f/16 for maximum sharpness while pushing the background to f/1 to create a creamy bokeh effect.

The Focus Spread Slider: This tool allows editors to “stretch” the focus area. By manipulating the slider, you can define exactly where the focus starts and ends within a 3D space.

Color-Coded Depth Feedback: The software uses a visual “Depth Assist” overlay to guide the user:

  • Blue represents the foreground limit.
  • Orange represents the background limit.

Depth Map Integration: The software generates a sophisticated depth map that understands the physical distance of every pixel. This allows for precise selection of what should be sharp and what should be blurred based on actual spatial data rather than just contrast.

Workflow Flexibility: For professional shoots, this technology reduces the risk of missed focus and allows a single exposure to be repurposed into multiple different compositions (e.g., one version with a deep focus and another with a shallow focus).
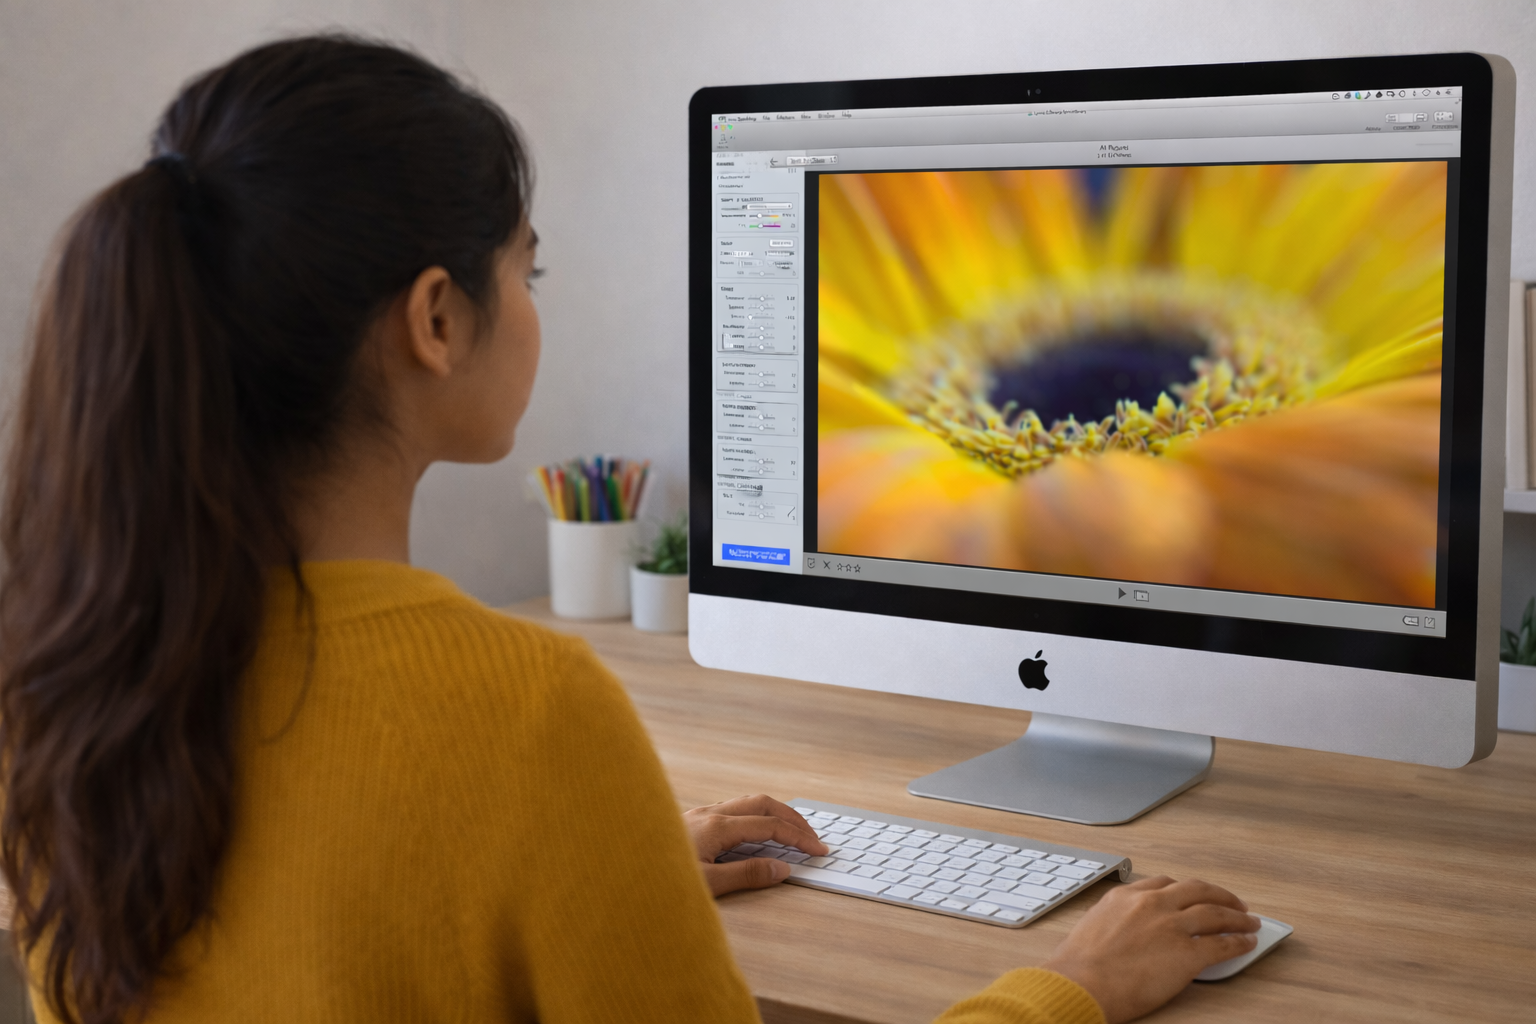
Explore more videos in this series

  1. Introducing the Virtual Camera
  2. Adjusting Living Pictures
  3. Animating Living Pictures
  4. Exporting Living Pictures
  5. Introducing Focus Spread
  6. Present Your Living Picture
Posted on Leave a comment

Digital Directing: Unleashing the Virtual Camera in Lytro Desktop 4

This video introduces the Lytro Virtual Camera, a powerful tool within Lytro Desktop 4 that unlocks the potential of “living pictures.” Unlike traditional photography, which captures a flat image, Lytro’s Light Field technology captures 3D data. This allows photographers to adjust focus, perspective, aperture, and focal tilt long after the shutter has been pressed, offering a level of creative flexibility previously reserved for high-end cinema or complex tilt-shift lenses.

Adjusting Living Pictures
(Source: Lytro, Adam Gould, March 13, 2018, Original URL, Archived URL)

Video Summary

TimestampDescription
00:00 – 00:25Demonstrates the “Living Picture” core: clicking to change focus and dragging for a “Perspective Shift.”
00:26 – 00:41Shows how to render a version of the image where every depth layer is sharp simultaneously.
00:42 – 01:25Explains the ability to shift from f/2 (shallow depth of field) to f/16 (deep focus) post-capture.
01:26 – 01:54Shows how narrowing the aperture increases clarity across the entire 3D scene.
01:55 – 02:20Introduces the tilt tool, allowing the focus plane to be angled rather than staying parallel to the sensor.
02:21 – 02:40Demonstrates rotating the focal plane to keep two subjects at different distances in focus at once.
02:41 – 03:12Explains the sharpening mask, noise reduction tool, and resetting an image

Detailed Breakdown

  • Interactive Depth & Perspective (00:00 – 00:41): The first segment establishes the foundational difference between a standard image and a “Living Picture.”
    • Dynamic Refocusing: The demonstrator shows that the “focus point” is not baked into the file. Clicking any element—foreground or background—instantly recalculates the image to sharpen that specific depth layer.
    • Parallax & Perspective Shift: By clicking and dragging the mouse, the camera view shifts slightly. This reveals what is “behind” objects, emphasizing that the camera captured the scene from multiple angles simultaneously.
    • All-in-Focus Preview: A unique toggle that bypasses the shallow depth of field entirely, providing a crisp, deep-focus view of the entire scene at once.
  • Mastering the Virtual Aperture (00:42 – 01:54): This section introduces the core update in Lytro Desktop 4, treating the software as a physical lens.
    • Simulated Optics: The video explains that the camera hardware captures at a wide f/2 to gather maximum light-field data, but the software can “stop down” the lens virtually.
    • Aperture Range (f/2 to f/16): *At f/2: Users achieve a cinematic shallow depth of field with high-quality background blur.
      • At f/16: The software uses the light-field data to bring every element into sharp focus, mimicking a landscape photographer’s narrow aperture.
    • Real-Time Feedback: The demonstrator uses a slider in the sidebar to show how the depth of field expands and contracts instantly without re-rendering the whole image.
  • Advanced Focal Plane Manipulation (01:55 – 02:40): The final segment covers the “Virtual Camera” tools that simulate professional Tilt-Shift photography.
    • Creative Precision: The sidebar provides “Tilt” and “Rotation” sliders, giving the photographer mathematical precision over the angle of focus.
    • Tilt Control: Standard cameras have a focal plane that is always parallel to the sensor. The Virtual Camera allows you to “tilt” this plane forward or backward.
    • Rotation (The Wedge Effect): By rotating the focal plane, the user can create a “wedge” of focus. This allows for creative shots where two subjects at different distances (e.g., a person in the foreground and a sign in the background) are both sharp, while the area between or around them is blurred.
  • Additional Photo Editing Details (02:41 – 03:12): The non-destructive photo editing tools includes an unsharp mask (USM) and a noise reduction tool to adjust luminance and color reduction. Any change change be easily reverted to its original state.

Key Takeaways

  • Total Post-Shot Sovereignty: The primary takeaway is the move from capturing a moment to directing it. The photographer is no longer limited by the settings chosen at the time the shutter was pressed.
  • Elimination of Specialized Gear: Features like “Focal Plane Tilt” essentially provide the benefits of a $2,000 tilt-shift lens within a free software interface.
  • Hybrid Workflow: The video demonstrates that the best results come from a combination of interactive clicking and precise slider adjustments in the “Virtual Camera” group.
  • The “Data-First” Approach: Understanding that a Lytro file is 3D data allows the user to treat the editing process like a virtual film set rather than a simple photo editor.

Explore other videos in this series

  1. Introducing the Virtual Camera
  2. Adjusting Living Pictures
  3. Animating Living Pictures
  4. Exporting Living Pictures
  5. Introducing Focus Spread
  6. Present Your Living Picture