Posted on Leave a comment

Digital Directing: Unleashing the Virtual Camera in Lytro Desktop 4

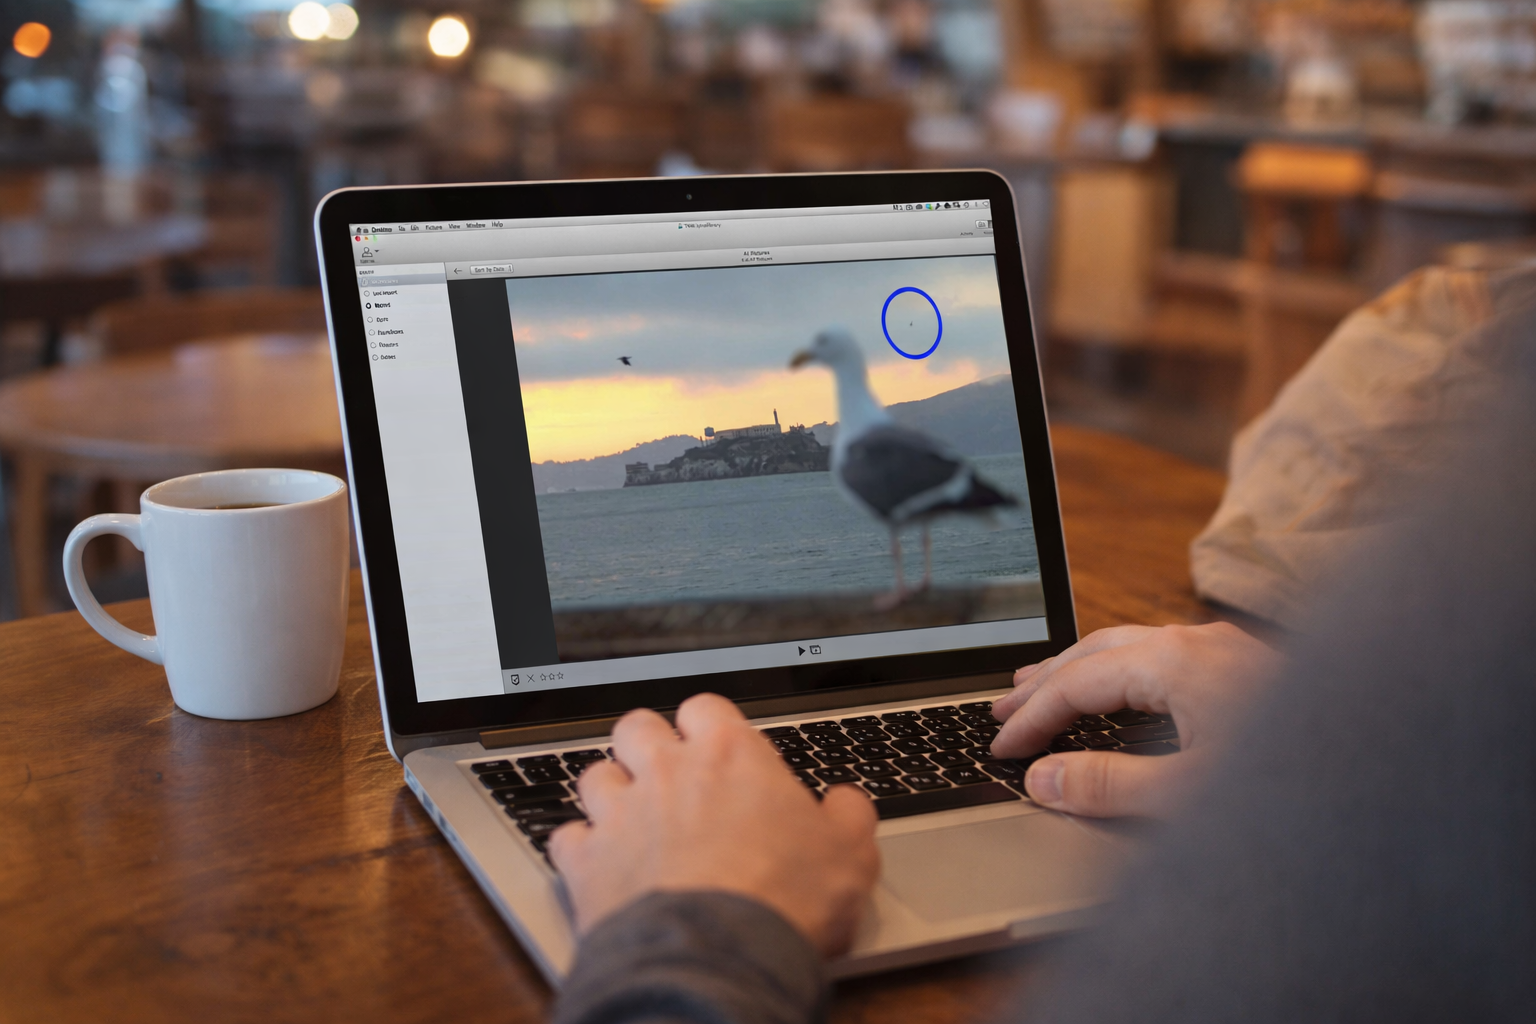
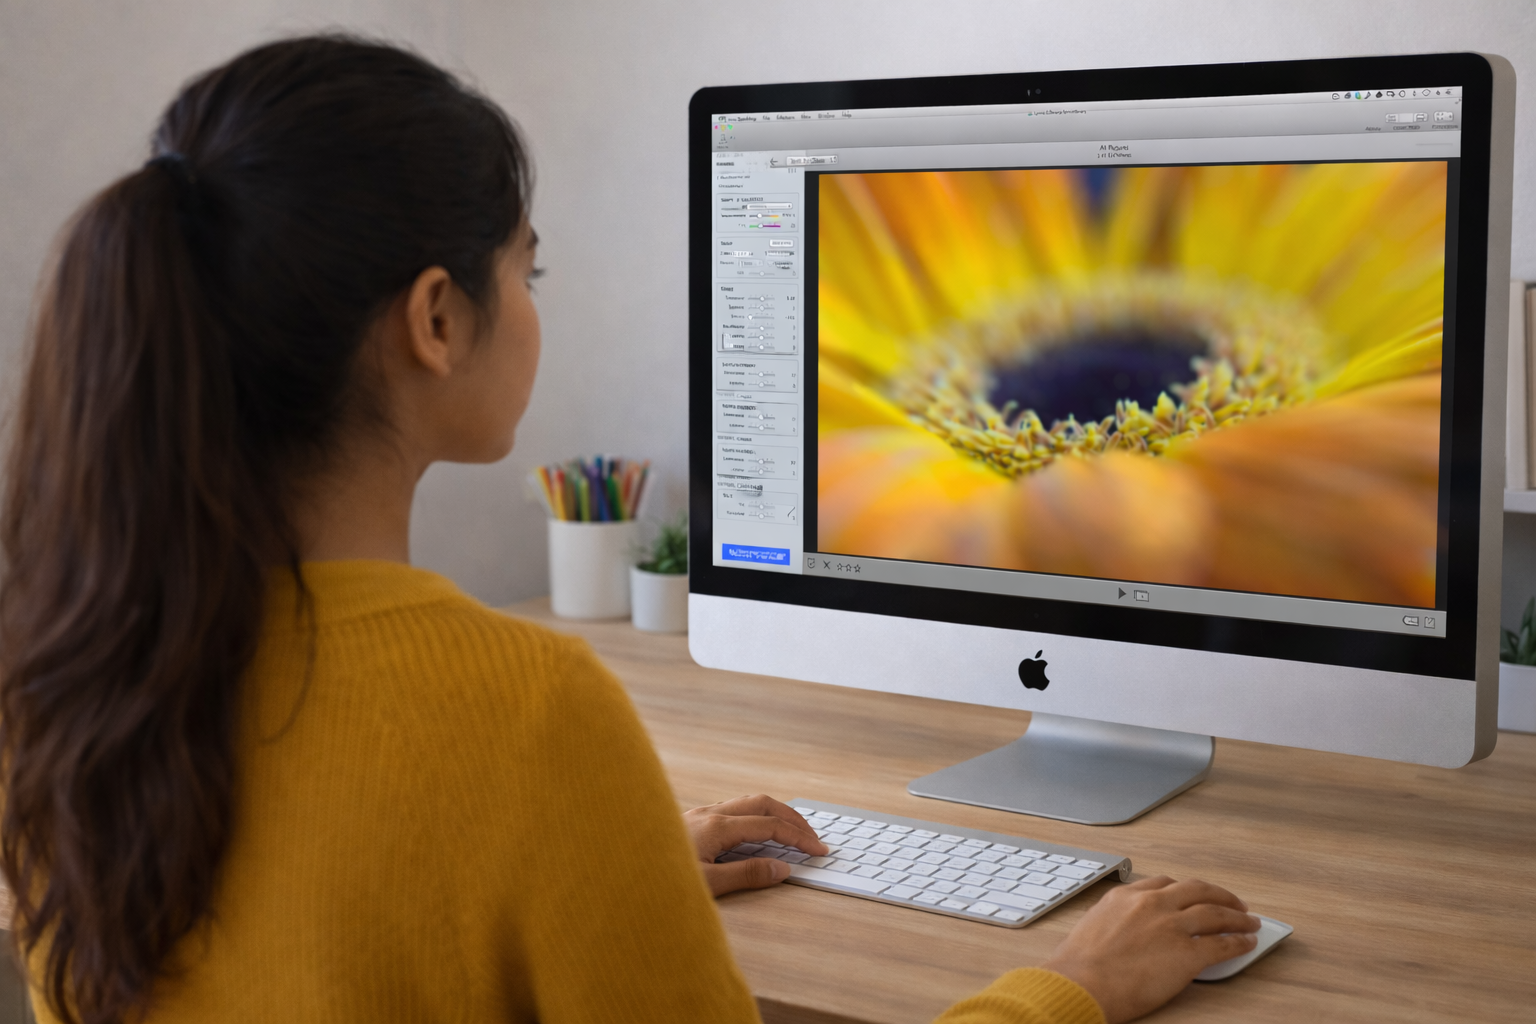
This video introduces the Lytro Virtual Camera, a powerful tool within Lytro Desktop 4 that unlocks the potential of “living pictures.” Unlike traditional photography, which captures a flat image, Lytro’s Light Field technology captures 3D data. This allows photographers to adjust focus, perspective, aperture, and focal tilt long after the shutter has been pressed, offering a level of creative flexibility previously reserved for high-end cinema or complex tilt-shift lenses.

Adjusting Living Pictures
(Source: Lytro, Adam Gould, March 13, 2018, Original URL, Archived URL)

Video Summary

TimestampDescription
00:00 – 00:25Demonstrates the “Living Picture” core: clicking to change focus and dragging for a “Perspective Shift.”
00:26 – 00:41Shows how to render a version of the image where every depth layer is sharp simultaneously.
00:42 – 01:25Explains the ability to shift from f/2 (shallow depth of field) to f/16 (deep focus) post-capture.
01:26 – 01:54Shows how narrowing the aperture increases clarity across the entire 3D scene.
01:55 – 02:20Introduces the tilt tool, allowing the focus plane to be angled rather than staying parallel to the sensor.
02:21 – 02:40Demonstrates rotating the focal plane to keep two subjects at different distances in focus at once.
02:41 – 03:12Explains the sharpening mask, noise reduction tool, and resetting an image

Detailed Breakdown

  • Interactive Depth & Perspective (00:00 – 00:41): The first segment establishes the foundational difference between a standard image and a “Living Picture.”
    • Dynamic Refocusing: The demonstrator shows that the “focus point” is not baked into the file. Clicking any element—foreground or background—instantly recalculates the image to sharpen that specific depth layer.
    • Parallax & Perspective Shift: By clicking and dragging the mouse, the camera view shifts slightly. This reveals what is “behind” objects, emphasizing that the camera captured the scene from multiple angles simultaneously.
    • All-in-Focus Preview: A unique toggle that bypasses the shallow depth of field entirely, providing a crisp, deep-focus view of the entire scene at once.
  • Mastering the Virtual Aperture (00:42 – 01:54): This section introduces the core update in Lytro Desktop 4, treating the software as a physical lens.
    • Simulated Optics: The video explains that the camera hardware captures at a wide f/2 to gather maximum light-field data, but the software can “stop down” the lens virtually.
    • Aperture Range (f/2 to f/16): *At f/2: Users achieve a cinematic shallow depth of field with high-quality background blur.
      • At f/16: The software uses the light-field data to bring every element into sharp focus, mimicking a landscape photographer’s narrow aperture.
    • Real-Time Feedback: The demonstrator uses a slider in the sidebar to show how the depth of field expands and contracts instantly without re-rendering the whole image.
  • Advanced Focal Plane Manipulation (01:55 – 02:40): The final segment covers the “Virtual Camera” tools that simulate professional Tilt-Shift photography.
    • Creative Precision: The sidebar provides “Tilt” and “Rotation” sliders, giving the photographer mathematical precision over the angle of focus.
    • Tilt Control: Standard cameras have a focal plane that is always parallel to the sensor. The Virtual Camera allows you to “tilt” this plane forward or backward.
    • Rotation (The Wedge Effect): By rotating the focal plane, the user can create a “wedge” of focus. This allows for creative shots where two subjects at different distances (e.g., a person in the foreground and a sign in the background) are both sharp, while the area between or around them is blurred.
  • Additional Photo Editing Details (02:41 – 03:12): The non-destructive photo editing tools includes an unsharp mask (USM) and a noise reduction tool to adjust luminance and color reduction. Any change change be easily reverted to its original state.

Key Takeaways

  • Total Post-Shot Sovereignty: The primary takeaway is the move from capturing a moment to directing it. The photographer is no longer limited by the settings chosen at the time the shutter was pressed.
  • Elimination of Specialized Gear: Features like “Focal Plane Tilt” essentially provide the benefits of a $2,000 tilt-shift lens within a free software interface.
  • Hybrid Workflow: The video demonstrates that the best results come from a combination of interactive clicking and precise slider adjustments in the “Virtual Camera” group.
  • The “Data-First” Approach: Understanding that a Lytro file is 3D data allows the user to treat the editing process like a virtual film set rather than a simple photo editor.

Explore other videos in this series

  1. Introducing the Virtual Camera
  2. Adjusting Living Pictures
  3. Animating Living Pictures
  4. Exporting Living Pictures
  5. Introducing Focus Spread
  6. Present Your Living Picture
Posted on Leave a comment

Lytro Desktop 5: The Ultimate Toolkit for Interactive Photography

Static photos are a thing of the past. In the era of “Living Pictures,” Lytro Desktop 5 stands as the definitive engine for depth-based creativity. From its Windows-optimized workflow to its groundbreaking ability to manipulate the laws of physics—like changing your f-stop after the fact—this version is the must-have companion for anyone still pushing the boundaries of what a camera can do.

When Lytro first introduced the concept of “shoot now, focus later,” it felt like science fiction. Lytro Desktop 5 was the final, most polished evolution of the software designed to handle these unique “Living Pictures.” For photographers and tech enthusiasts, it wasn’t just an editor; it was a specialized engine that turned light-field data into interactive media.

Here is a summary of what makes Lytro Desktop 5 the definitive toolkit for light-field photography.

1. The Core Innovation: DepthFX

The standout feature of version 5.0 is DepthFX. While previous versions focused primarily on changing the focal point, Desktop 5 allows for depth-based image editing.

  • Selective Adjustments: You can isolate specific depth layers to change exposure, saturation, or contrast. For example, you can brighten a subject in the foreground without overexposing the background.
  • Virtual Green Screen: Because the software knows exactly how far away every pixel is, it can perform “Background Replacement” without a physical green screen. You can swap out a background entirely while keeping the “refocus-able” nature of the foreground.

2. Living Pictures & Interactive Media

Lytro Desktop 5 is the bridge between a raw file and a “Living Picture.” It enables three main types of output:

  • Refocusable Images: The classic Lytro experience where viewers can click anywhere in the frame to shift focus.
  • Perspective Shift: By clicking and dragging, you can subtly change the point of view, creating a 3D-like effect from a single lens.
  • Cinematic Animations: You can export your photos as MP4 videos that automatically “rack focus” (shift focus from front to back), perfect for social media or blog headers.

3. Advanced Optical Controls

Rather than fixing a photo, Lytro Desktop 5 lets you “re-craft” the optics of the shot:

  • Virtual Aperture: You can change the f-stop after the fact (ranging from f/1 to f/16), allowing you to expand or shrink the depth of field at will.
  • Tilt/Shift: You can virtually tilt the lens plane to create “miniature” effects or bring two objects at different distances into sharp focus simultaneously.

4. Workflow & Compatibility

  • Platform: Version 5 was famously released as a Windows-only update, bringing it up to parity with (and in some ways surpassing) the Mac version.
  • File Management: It supports bulk processing and upgrading of “Living Pictures” and offers a streamlined “Adjust” menu for traditional edits like sharpening and noise reduction.

Get Started: Download Lytro Desktop 5

Ready to unlock the full potential of your light-field photos? You can download the official installation package for Windows below. Simply run the executable to begin the setup process and start exploring the power of DepthFX.

Download Lytro Desktop 5 (.exe)

Installation Tip: If you are on Windows 10 or 11, you may need to right-click the .exe and select “Run as Administrator” to ensure all depth-rendering libraries install correctly.

Note that Lytro Desktop 5 is a Windows-exclusive release. While older versions existed for Mac, version 5.0 was built specifically to leverage Windows-based processing for its advanced depth-editing tools.

System Requirements for Lytro Desktop 5

To handle the complex light-field data and 3D rendering, a 64-bit environment is required.

FeatureMinimum RequirementRecommended (for DepthFX)
Operating SystemWindows 7, 8, or 10 (64-bit)Windows 10 (64-bit)
ProcessorDual-core CPU (Intel Core 2 Duo)Intel i5 Quad-Core or better
Memory (RAM)4 GB8 GB or more
Graphics CardDirectX 10.0 compatibleDirectX 11.0 (NVIDIA GTX 760 / AMD Radeon 7970)
Video MemoryIntel HD Graphics 40002 GB+ Dedicated VRAM
Hard Drive1 GB for installationSSD (for faster image processing)

Note for Users: Processing “Living Pictures” is CPU and GPU intensive. If you are working with high-resolution images from the Lytro Illum, 8 GB of RAM is highly recommended to prevent the software from lagging during depth-map generation.

Posted on Leave a comment

Beyond the Camera: Master External Editing for Lytro Living Pictures

This video demonstrates a structured process for modifying Lytro images while maintaining their unique light-field properties. The workflow is broken down into four essential stages:

  • Preparation & Export: Before leaving Lytro Desktop, users are advised to finalize exposure and depth map corrections. The image is then exported as an “Editable Living Picture,” which unpacks the photo into a folder containing a series of TIFF frames (representing different perspectives) and a stack.lfp data file.
  • External Modification: The exported frames are opened in an external editor (such as Photoshop or Lightroom). The narrator demonstrates removing an object—in this case, a bird—from the background. Because a living picture consists of multiple viewpoints, the edit must be applied consistently across all frames to ensure the final interactive image looks seamless.
  • Reassembly: Once the frames are saved, they are brought back into Lytro Desktop using the “Import from folder” command and selecting the original stack.lfp file. This file acts as the “glue” that tells the software how to stitch the edited frames back into a single 3D-aware image.
  • Final Result: The process concludes with a fully functional living picture that retains its ability to shift focus and perspective, but now features the professional-grade edits performed externally.
Externally Editing Living Pictures
(Source: Lytro, Adam Gould, March 13, 2018, Original URL, Archived URL)
TimelineDescription
00:00 – 00:06The video starts with an introduction to the topic of externally editing living pictures.
00:06 – 00:30The narrator provides an example using a living picture of a seagull at Alcatraz. Two birds are flying in the background, and the narrator wants to remove the smaller bird on the right using Adobe Photoshop.
00:30 – 00:44Before exporting, the narrator advises making any necessary exposure adjustments and fixing depth map artifacts within Lytro Desktop. After external editing, only optical adjustments can be made within the application.
00:44 – 00:52The narrator demonstrates how to export the living picture. Go to File > Export and select Editable Living Picture from the Format menu.
00:52 – 01:14Upon clicking Export, Lytro Desktop generates a series of frames representing different viewpoints within the living picture. This series of frames represents the light field, which Lytro Desktop can then reassemble into a living picture with the applied changes.
01:14 – 01:31In the Finder, a new folder is created containing the exported frames. There’s also a stack.lfp file which contains information to help Lytro Desktop reassemble the living picture. The narrator selects the TIFF files and opens them in an editor, such as Adobe Photoshop.
01:31 – 01:57The narrator proceeds to edit each frame. Using the Content-Aware Healing tool in Photoshop, the bird is removed from each frame. Depending on the changes, using an editor capable of adjusting multiple images at once, like Adobe Lightroom or Apple Aperture, might be more efficient.
01:57 – 02:17The narrator saves each image, closes it, and moves to the next. As they move through the images, slight changes in perspective can be seen.
02:17 – 02:37Once the edits are complete, the narrator switches back to Lytro Desktop. They select File > Import from folder and choose the stack.lfp file generated during export. Lytro Desktop then creates a new album with the adjusted living picture.
02:37 – 02:47The final living picture is shown, with the bird successfully removed. The narrator demonstrates that it’s still a living picture, allowing for changes in focus and perspective.

Key Takeaways

  • Order of Operations Matters: Always perform exposure adjustments and depth map cleanups within Lytro Desktop before exporting. Once the image is re-imported after external editing, you lose the ability to make these core light-field adjustments.
  • The “Editable Living Picture” Format: To edit outside the Lytro ecosystem, you must export using the Editable Living Picture format. This breaks the single file down into its component parts: a series of TIFF frames and a stack.lfp metadata file.
  • Editing Across Perspectives: A living picture is composed of multiple viewpoints. For an edit to look natural when a user “tilts” or shifts the perspective of the final image, the changes (like removing an object) must be applied consistently across all exported TIFF frames.
  • Efficiency is Key: While Photoshop is great for individual frame edits, using a batch processor like Adobe Lightroom or Apple Aperture is recommended if you need to apply the same color or tonal changes across the entire stack of images simultaneously.
  • The stack.lfp File is Essential: Never delete or move the .lfp file generated during export. This file contains the “instructions” Lytro Desktop needs to reassemble the individual TIFFs back into an interactive, refocusable living picture.
  • Preservation of Interactivity: External editing does not “flatten” the image into a standard photo. As long as you follow the Import from Folder process, the final output remains a dynamic living picture with full refocus and perspective-shift capabilities.

Explore more videos in this series

  1. Externally Editing Living Pictures in Adobe Photoshop
  2. Editing Depth Maps and Fixing Depth Map Errors