Posted on Leave a comment

Depth & Dimension: How to View Your Lytro Photos in Stunning Stereo 3D

This tutorial video provides a comprehensive guide on how to showcase Lytro “living pictures” using the Presentation Mode in Lytro Desktop. Designed for users who want to move beyond the standard editing interface, the video demonstrates how to view images in a distraction-free, full-screen environment while maintaining the signature interactivity of light field photography.

Present Your Living Pictures
(Source: Lytro, Adam Gould, March 13, 2018, Original URL, Archived URL)

Video Summary

Time SegmentDescription
00:00 – 00:05Intro screen: “PRESENT YOUR LIVING PICTURES” with objectives (Presentation Mode, Stereo 3D).
00:05 – 00:15Opening Lytro Desktop and clicking the “Present” button in the left sidebar.
00:15 – 00:27Exploring sidebar options: Switching between 2D and Stereo 3D viewing modes.
00:27 – 00:44Explanation of Side-by-Side 3D requirements (full screen/3D TV) vs. Anaglyph 3D.
00:44 – 00:51Selecting a display from the dropdown and clicking “Begin Presentation.”
00:51 – 01:00Showing the alternative “Presentation” icon in the top right toolbar for quick access.
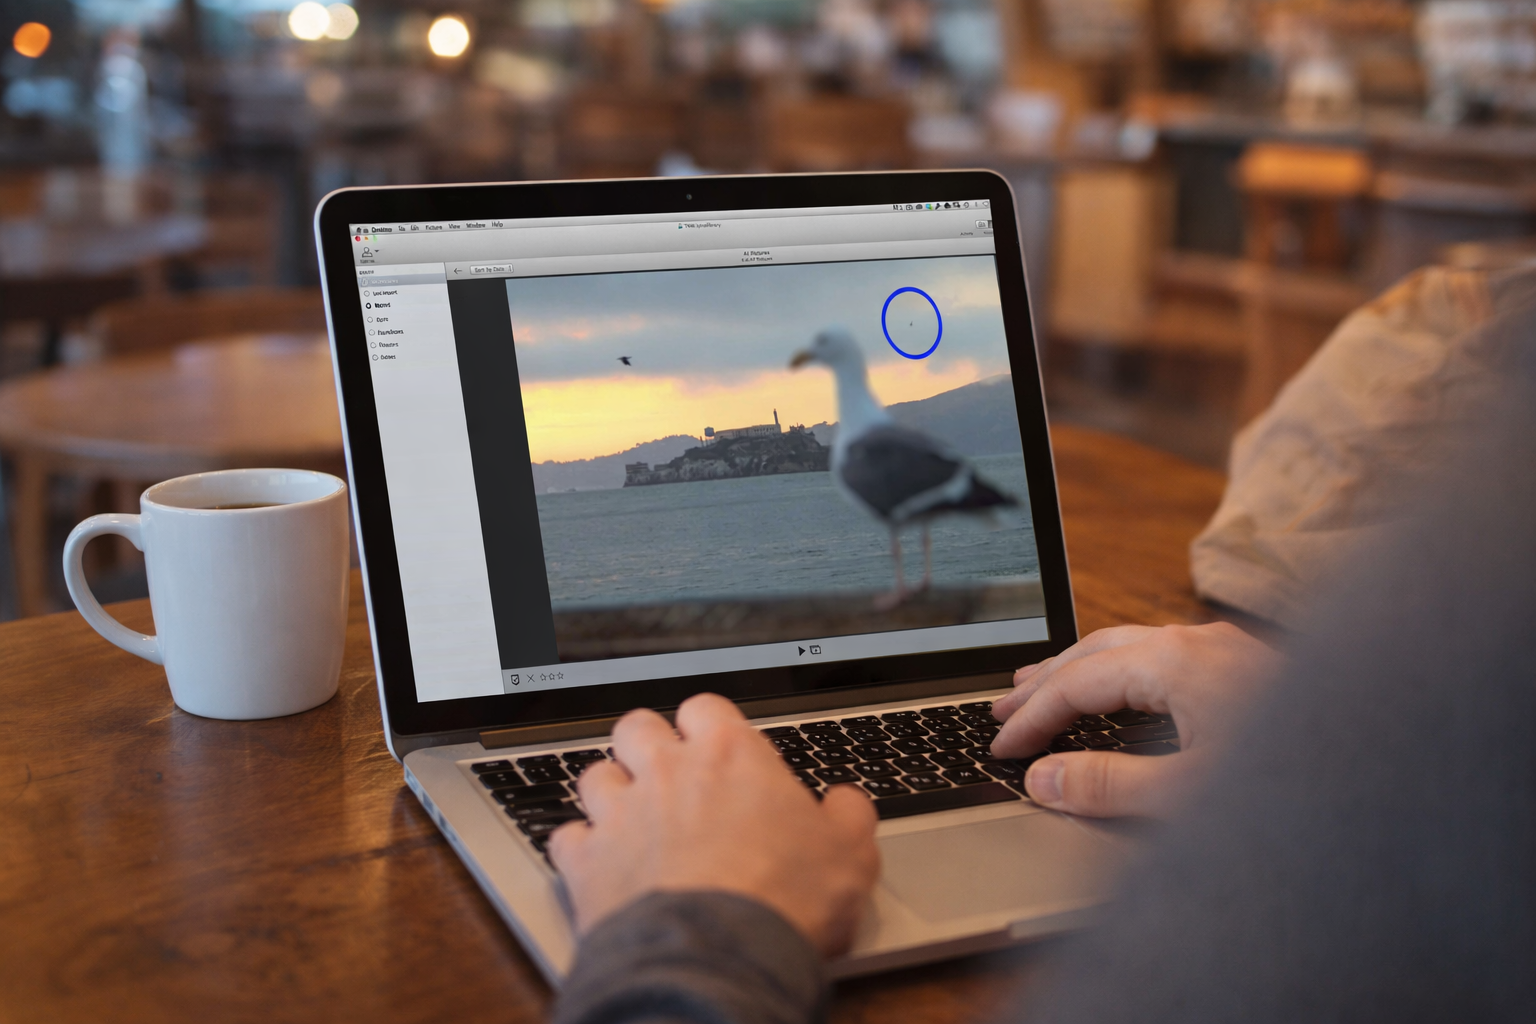
01:00 – 01:09Presentation Mode demo: Clicking to refocus and dragging for perspective shift.
01:09 – 01:21Hovering at the bottom to reveal the filmstrip and toggling 3D modes within presentation.
01:21 – 01:37Instructions for 3D TV compatibility and manual side-by-side settings if needed.
01:37 – 01:45How to exit: Click the “exit” icon on the filmstrip or press the Esc key.

Key Takeaways

Accessing Presentation Mode

  • Two Ways to Start: * Sidebar Method: Click the “Present” icon in the left-hand toolbar to open a configuration menu.
    • Quick Start: Click the “Presentation” icon (resembling a projector screen) in the top-right toolbar to jump straight into the full-screen view.
  • Multi-Monitor Support: If you have multiple screens connected (like a secondary monitor or a 3D TV), use the “Display Options” dropdown to select exactly where the presentation will appear.

Viewing Options (2D vs. 3D)

  • Standard 2D: The default mode for viewing on standard computer monitors.
  • Anaglyph 3D: Used for viewing 3D effects on standard monitors using traditional red/cyan glasses.
  • Side-by-Side (Stereo 3D): Designed for 3D-capable televisions.
    • Note: This mode is best used in full-screen rather than windowed mode to allow the TV to properly merge the images.
    • Note: Most modern 3D TVs will auto-detect this format, but some may require manual activation via the TV’s menu.

In-Presentation Interactivity

  • Living Features: Even in full-screen mode, the pictures remain interactive. You can click to refocus on different subjects or click and drag to shift the perspective.
  • The Hidden Filmstrip: Moving your cursor to the bottom of the screen reveals a filmstrip of all photos in your current collection.
    • This filmstrip also contains quick-toggle buttons to switch between 2D and 3D modes without exiting the presentation.

Exiting the Presentation

  • Keyboard Shortcut: The fastest way to exit is by pressing the Esc (Escape) key.
  • On-Screen Control: You can also click the exit icon (four arrows pointing inward) located on the right side of the filmstrip.

Explore more videos in this series

  1. Introducing the Virtual Camera
  2. Adjusting Living Pictures
  3. Animating Living Pictures
  4. Exporting Living Pictures
  5. Introducing Focus Spread
  6. Present Your Living Picture
Posted on Leave a comment

Beyond the Camera: Master External Editing for Lytro Living Pictures

This video demonstrates a structured process for modifying Lytro images while maintaining their unique light-field properties. The workflow is broken down into four essential stages:

  • Preparation & Export: Before leaving Lytro Desktop, users are advised to finalize exposure and depth map corrections. The image is then exported as an “Editable Living Picture,” which unpacks the photo into a folder containing a series of TIFF frames (representing different perspectives) and a stack.lfp data file.
  • External Modification: The exported frames are opened in an external editor (such as Photoshop or Lightroom). The narrator demonstrates removing an object—in this case, a bird—from the background. Because a living picture consists of multiple viewpoints, the edit must be applied consistently across all frames to ensure the final interactive image looks seamless.
  • Reassembly: Once the frames are saved, they are brought back into Lytro Desktop using the “Import from folder” command and selecting the original stack.lfp file. This file acts as the “glue” that tells the software how to stitch the edited frames back into a single 3D-aware image.
  • Final Result: The process concludes with a fully functional living picture that retains its ability to shift focus and perspective, but now features the professional-grade edits performed externally.
Externally Editing Living Pictures
(Source: Lytro, Adam Gould, March 13, 2018, Original URL, Archived URL)
TimelineDescription
00:00 – 00:06The video starts with an introduction to the topic of externally editing living pictures.
00:06 – 00:30The narrator provides an example using a living picture of a seagull at Alcatraz. Two birds are flying in the background, and the narrator wants to remove the smaller bird on the right using Adobe Photoshop.
00:30 – 00:44Before exporting, the narrator advises making any necessary exposure adjustments and fixing depth map artifacts within Lytro Desktop. After external editing, only optical adjustments can be made within the application.
00:44 – 00:52The narrator demonstrates how to export the living picture. Go to File > Export and select Editable Living Picture from the Format menu.
00:52 – 01:14Upon clicking Export, Lytro Desktop generates a series of frames representing different viewpoints within the living picture. This series of frames represents the light field, which Lytro Desktop can then reassemble into a living picture with the applied changes.
01:14 – 01:31In the Finder, a new folder is created containing the exported frames. There’s also a stack.lfp file which contains information to help Lytro Desktop reassemble the living picture. The narrator selects the TIFF files and opens them in an editor, such as Adobe Photoshop.
01:31 – 01:57The narrator proceeds to edit each frame. Using the Content-Aware Healing tool in Photoshop, the bird is removed from each frame. Depending on the changes, using an editor capable of adjusting multiple images at once, like Adobe Lightroom or Apple Aperture, might be more efficient.
01:57 – 02:17The narrator saves each image, closes it, and moves to the next. As they move through the images, slight changes in perspective can be seen.
02:17 – 02:37Once the edits are complete, the narrator switches back to Lytro Desktop. They select File > Import from folder and choose the stack.lfp file generated during export. Lytro Desktop then creates a new album with the adjusted living picture.
02:37 – 02:47The final living picture is shown, with the bird successfully removed. The narrator demonstrates that it’s still a living picture, allowing for changes in focus and perspective.

Key Takeaways

  • Order of Operations Matters: Always perform exposure adjustments and depth map cleanups within Lytro Desktop before exporting. Once the image is re-imported after external editing, you lose the ability to make these core light-field adjustments.
  • The “Editable Living Picture” Format: To edit outside the Lytro ecosystem, you must export using the Editable Living Picture format. This breaks the single file down into its component parts: a series of TIFF frames and a stack.lfp metadata file.
  • Editing Across Perspectives: A living picture is composed of multiple viewpoints. For an edit to look natural when a user “tilts” or shifts the perspective of the final image, the changes (like removing an object) must be applied consistently across all exported TIFF frames.
  • Efficiency is Key: While Photoshop is great for individual frame edits, using a batch processor like Adobe Lightroom or Apple Aperture is recommended if you need to apply the same color or tonal changes across the entire stack of images simultaneously.
  • The stack.lfp File is Essential: Never delete or move the .lfp file generated during export. This file contains the “instructions” Lytro Desktop needs to reassemble the individual TIFFs back into an interactive, refocusable living picture.
  • Preservation of Interactivity: External editing does not “flatten” the image into a standard photo. As long as you follow the Import from Folder process, the final output remains a dynamic living picture with full refocus and perspective-shift capabilities.

Explore more videos in this series

  1. Externally Editing Living Pictures in Adobe Photoshop
  2. Editing Depth Maps and Fixing Depth Map Errors
Posted on Leave a comment

Lytro ILLUM: The Camera That Lets You Focus After the Fact

This video is a comprehensive introduction and technical showcase of the Lytro ILLUM, a second-generation light-field camera. It details how the device captures the “entirety of the light field” to allow for post-capture adjustments like refocusing and perspective shifting.

Introducing Lytro ILLUM
(Source: Lytro, Adam Gould, March 13, 2018, Original URL, Archived URL)

Video Summary

TimestampDescription
00:00 – 00:35Introduction to the philosophy behind Lytro; moving beyond 2D “flat” photography to capturing a richer 3D world.
00:36 – 01:10Close-up shots of the Lytro ILLUM hardware, highlighting its sleek, angled industrial design and the custom lens.
01:11 – 01:55Explanation of the sensor and microlens array. It illustrates how the camera captures position and direction of light rays (40 Megaray sensor).
01:56 – 02:40Demonstration of the “Lytro Button” and the real-time depth histogram, which shows the “refocusable” range of a shot before it’s taken.
02:41 – 03:25Showcasing the desktop software. Features include changing the focus point, adjusting depth of field (f-stop), and “Living Pictures” (slight 3D parallax).
03:26 – 04:40Testimonials and examples from professional photographers using the ILLUM for fashion, action, and storytelling.

Core Technical Features Highlighted

  • 40 Megaray Sensor: Unlike traditional megapixel counts, this measures the total number of light rays captured.
  • Custom Lens: An 8x optical zoom (30 – 250mm equivalent) with a constant f/2.0 aperture.
  • Light Field Engine 2.0: The onboard processing power that allows for instant depth feedback on the touchscreen.
  • Living Pictures: The ability to export images as interactive files or animations that pan, tilt, and refocus.

Key Takeaways

The video emphasizes that the Lytro ILLUM isn’t just a camera upgrade, but a new category of imaging. By capturing the “direction” of light, it removes the pressure of getting the focus perfect in the moment, allowing the creator to decide the focus and depth of field during the editing process.

Explore more videos in this series

  1. Introducing Lytro ILLUM
  2. Shooting Simple Living Pictures
  3. Connecting Depth to Living Pictures
  4. Composing for Depth
  5. Exploring Depth of Field