This video demonstrates a structured process for modifying Lytro images while maintaining their unique light-field properties. The workflow is broken down into four essential stages:
- Preparation & Export: Before leaving Lytro Desktop, users are advised to finalize exposure and depth map corrections. The image is then exported as an “Editable Living Picture,” which unpacks the photo into a folder containing a series of TIFF frames (representing different perspectives) and a
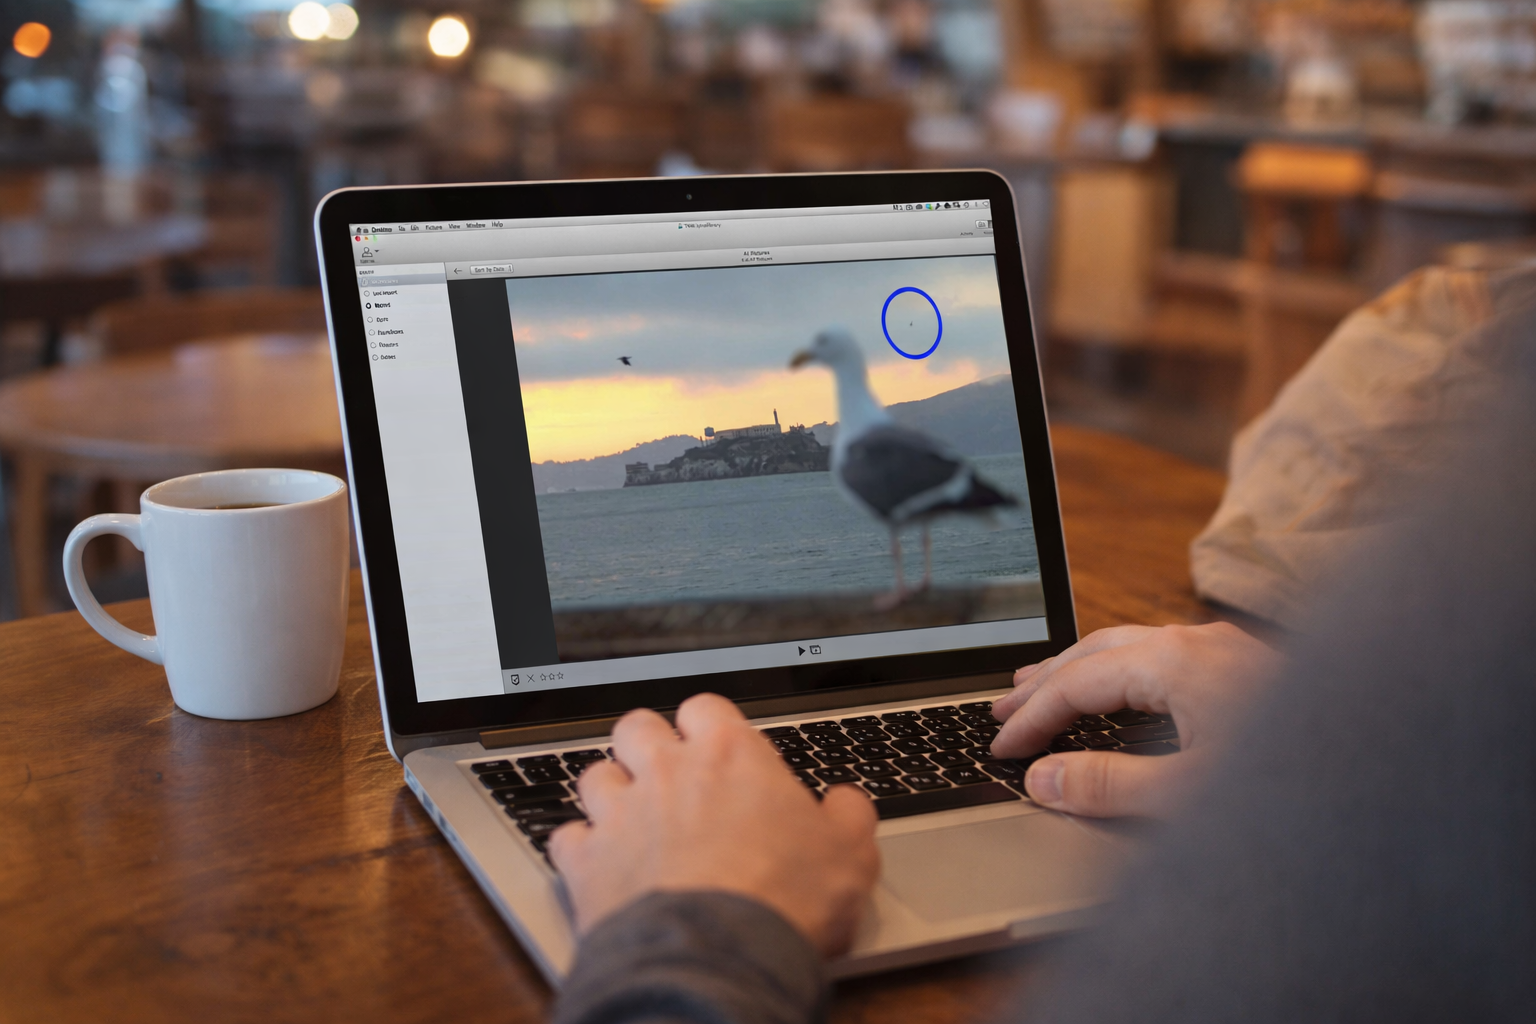
stack.lfpdata file. - External Modification: The exported frames are opened in an external editor (such as Photoshop or Lightroom). The narrator demonstrates removing an object—in this case, a bird—from the background. Because a living picture consists of multiple viewpoints, the edit must be applied consistently across all frames to ensure the final interactive image looks seamless.
- Reassembly: Once the frames are saved, they are brought back into Lytro Desktop using the “Import from folder” command and selecting the original
stack.lfpfile. This file acts as the “glue” that tells the software how to stitch the edited frames back into a single 3D-aware image. - Final Result: The process concludes with a fully functional living picture that retains its ability to shift focus and perspective, but now features the professional-grade edits performed externally.
(Source: Lytro, Adam Gould, March 13, 2018, Original URL, Archived URL)
| Timeline | Description |
| 00:00 – 00:06 | The video starts with an introduction to the topic of externally editing living pictures. |
| 00:06 – 00:30 | The narrator provides an example using a living picture of a seagull at Alcatraz. Two birds are flying in the background, and the narrator wants to remove the smaller bird on the right using Adobe Photoshop. |
| 00:30 – 00:44 | Before exporting, the narrator advises making any necessary exposure adjustments and fixing depth map artifacts within Lytro Desktop. After external editing, only optical adjustments can be made within the application. |
| 00:44 – 00:52 | The narrator demonstrates how to export the living picture. Go to File > Export and select Editable Living Picture from the Format menu. |
| 00:52 – 01:14 | Upon clicking Export, Lytro Desktop generates a series of frames representing different viewpoints within the living picture. This series of frames represents the light field, which Lytro Desktop can then reassemble into a living picture with the applied changes. |
| 01:14 – 01:31 | In the Finder, a new folder is created containing the exported frames. There’s also a stack.lfp file which contains information to help Lytro Desktop reassemble the living picture. The narrator selects the TIFF files and opens them in an editor, such as Adobe Photoshop. |
| 01:31 – 01:57 | The narrator proceeds to edit each frame. Using the Content-Aware Healing tool in Photoshop, the bird is removed from each frame. Depending on the changes, using an editor capable of adjusting multiple images at once, like Adobe Lightroom or Apple Aperture, might be more efficient. |
| 01:57 – 02:17 | The narrator saves each image, closes it, and moves to the next. As they move through the images, slight changes in perspective can be seen. |
| 02:17 – 02:37 | Once the edits are complete, the narrator switches back to Lytro Desktop. They select File > Import from folder and choose the stack.lfp file generated during export. Lytro Desktop then creates a new album with the adjusted living picture. |
| 02:37 – 02:47 | The final living picture is shown, with the bird successfully removed. The narrator demonstrates that it’s still a living picture, allowing for changes in focus and perspective. |
Key Takeaways
- Order of Operations Matters: Always perform exposure adjustments and depth map cleanups within Lytro Desktop before exporting. Once the image is re-imported after external editing, you lose the ability to make these core light-field adjustments.
- The “Editable Living Picture” Format: To edit outside the Lytro ecosystem, you must export using the Editable Living Picture format. This breaks the single file down into its component parts: a series of TIFF frames and a
stack.lfpmetadata file. - Editing Across Perspectives: A living picture is composed of multiple viewpoints. For an edit to look natural when a user “tilts” or shifts the perspective of the final image, the changes (like removing an object) must be applied consistently across all exported TIFF frames.
- Efficiency is Key: While Photoshop is great for individual frame edits, using a batch processor like Adobe Lightroom or Apple Aperture is recommended if you need to apply the same color or tonal changes across the entire stack of images simultaneously.
- The
stack.lfpFile is Essential: Never delete or move the.lfpfile generated during export. This file contains the “instructions” Lytro Desktop needs to reassemble the individual TIFFs back into an interactive, refocusable living picture. - Preservation of Interactivity: External editing does not “flatten” the image into a standard photo. As long as you follow the Import from Folder process, the final output remains a dynamic living picture with full refocus and perspective-shift capabilities.
Explore more videos in this series
- Externally Editing Living Pictures in Adobe Photoshop
- Editing Depth Maps and Fixing Depth Map Errors