Posted on Leave a comment

How Depth Turns Static Images into Living Pictures

In this video, Connecting Depth to Living Pictures, we explore how depth perception transforms static visuals into immersive, emotionally engaging experiences. From understanding the basic cues the human eye uses to perceive space, to applying motion and compositional layering, the video breaks down how “living pictures” are created across photography, video, and digital media.

Connecting Depth to Living Pictures
(Source: Lytro, Adam Gould, March 13, 2018, Original URL, Archived URL)

Video Summary

TimelineDescription
00:00 – 00:40Introduction: Why Depth Matters in Living Pictures
The video opens by framing the core problem: why flat images often fail to feel “alive,” and how depth perception plays a crucial role in making pictures feel immersive. This section sets the conceptual foundation for connecting visual depth with emotional engagement.
00:41 – 01:30Understanding Depth Perception in Visual Media
This segment explores how humans perceive depth through visual cues such as scale, overlap, perspective, and motion. It establishes the difference between simply seeing an image and experiencing spatial realism.
01:31 – 02:20From Static Images to “Living” Visuals
Here, the video transitions from theory to application, showing how still or minimally animated images can feel dynamic when depth cues are correctly applied. The concept of “living pictures” is introduced as images that suggest space, presence, and continuity.
02:21 – 03:15Motion as a Connector Between Layers of Depth
This section highlights motion (camera movement, parallax, or subject movement) as a powerful tool for reinforcing depth. Even subtle motion can activate depth layers and transform a flat composition into a spatial experience.
03:16 – 04:20Practical Techniques for Creating Depth
The video presents practical visual strategies—such as foreground/background separation, focus shifts, and compositional layering—that help connect depth to perceived realism. These techniques are applicable across photography, video, and digital art.
04:21 – 05:20Emotional Impact of Depth in Visual Storytelling
This segment emphasizes that depth is not just technical, but emotional. Images with believable depth feel more human, more relatable, and more engaging, helping viewers emotionally connect with what they see.
05:21 – 05:55Conclusion: Making Pictures Feel Alive
The video concludes by reinforcing the central idea: depth is the bridge between static imagery and living pictures. When depth cues, motion, and composition work together, visuals move beyond representation and into experience.

Key Takeaways

  • Depth is the foundation of “living pictures.” Images feel alive when they convey space, presence, and spatial relationships—not just detail or color.
  • Depth perception relies on multiple visual cues. Perspective, scale, layering, focus, and overlap work together to create believable spatial realism.
  • Motion activates depth. Subtle movement, parallax, or camera shifts help reveal depth layers and transform flat visuals into immersive experiences.
  • Layering enhances realism and clarity. Clear separation between foreground, midground, and background strengthens visual storytelling.
  • Depth increases emotional engagement. Spatially rich images feel more human and relatable, making them more effective for storytelling and communication.
  • Creating depth is about intention, not complexity. Thoughtful composition and minimal motion often achieve stronger results than overloading an image with effects.

Explore more videos in this series

  1. Introducing Lytro ILLUM
  2. Shooting Simple Living Pictures
  3. Connecting Depth to Living Pictures
  4. Composing for Depth
  5. Exploring Depth of Field
Posted on Leave a comment

Depth & Dimension: How to View Your Lytro Photos in Stunning Stereo 3D

This tutorial video provides a comprehensive guide on how to showcase Lytro “living pictures” using the Presentation Mode in Lytro Desktop. Designed for users who want to move beyond the standard editing interface, the video demonstrates how to view images in a distraction-free, full-screen environment while maintaining the signature interactivity of light field photography.

Present Your Living Pictures
(Source: Lytro, Adam Gould, March 13, 2018, Original URL, Archived URL)

Video Summary

Time SegmentDescription
00:00 – 00:05Intro screen: “PRESENT YOUR LIVING PICTURES” with objectives (Presentation Mode, Stereo 3D).
00:05 – 00:15Opening Lytro Desktop and clicking the “Present” button in the left sidebar.
00:15 – 00:27Exploring sidebar options: Switching between 2D and Stereo 3D viewing modes.
00:27 – 00:44Explanation of Side-by-Side 3D requirements (full screen/3D TV) vs. Anaglyph 3D.
00:44 – 00:51Selecting a display from the dropdown and clicking “Begin Presentation.”
00:51 – 01:00Showing the alternative “Presentation” icon in the top right toolbar for quick access.
01:00 – 01:09Presentation Mode demo: Clicking to refocus and dragging for perspective shift.
01:09 – 01:21Hovering at the bottom to reveal the filmstrip and toggling 3D modes within presentation.
01:21 – 01:37Instructions for 3D TV compatibility and manual side-by-side settings if needed.
01:37 – 01:45How to exit: Click the “exit” icon on the filmstrip or press the Esc key.

Key Takeaways

Accessing Presentation Mode

  • Two Ways to Start: * Sidebar Method: Click the “Present” icon in the left-hand toolbar to open a configuration menu.
    • Quick Start: Click the “Presentation” icon (resembling a projector screen) in the top-right toolbar to jump straight into the full-screen view.
  • Multi-Monitor Support: If you have multiple screens connected (like a secondary monitor or a 3D TV), use the “Display Options” dropdown to select exactly where the presentation will appear.

Viewing Options (2D vs. 3D)

  • Standard 2D: The default mode for viewing on standard computer monitors.
  • Anaglyph 3D: Used for viewing 3D effects on standard monitors using traditional red/cyan glasses.
  • Side-by-Side (Stereo 3D): Designed for 3D-capable televisions.
    • Note: This mode is best used in full-screen rather than windowed mode to allow the TV to properly merge the images.
    • Note: Most modern 3D TVs will auto-detect this format, but some may require manual activation via the TV’s menu.

In-Presentation Interactivity

  • Living Features: Even in full-screen mode, the pictures remain interactive. You can click to refocus on different subjects or click and drag to shift the perspective.
  • The Hidden Filmstrip: Moving your cursor to the bottom of the screen reveals a filmstrip of all photos in your current collection.
    • This filmstrip also contains quick-toggle buttons to switch between 2D and 3D modes without exiting the presentation.

Exiting the Presentation

  • Keyboard Shortcut: The fastest way to exit is by pressing the Esc (Escape) key.
  • On-Screen Control: You can also click the exit icon (four arrows pointing inward) located on the right side of the filmstrip.

Explore more videos in this series

  1. Introducing the Virtual Camera
  2. Adjusting Living Pictures
  3. Animating Living Pictures
  4. Exporting Living Pictures
  5. Introducing Focus Spread
  6. Present Your Living Picture
Posted on Leave a comment

Lytro ILLUM: The Camera That Lets You Focus After the Fact

This video is a comprehensive introduction and technical showcase of the Lytro ILLUM, a second-generation light-field camera. It details how the device captures the “entirety of the light field” to allow for post-capture adjustments like refocusing and perspective shifting.

Introducing Lytro ILLUM
(Source: Lytro, Adam Gould, March 13, 2018, Original URL, Archived URL)

Video Summary

TimestampDescription
00:00 – 00:35Introduction to the philosophy behind Lytro; moving beyond 2D “flat” photography to capturing a richer 3D world.
00:36 – 01:10Close-up shots of the Lytro ILLUM hardware, highlighting its sleek, angled industrial design and the custom lens.
01:11 – 01:55Explanation of the sensor and microlens array. It illustrates how the camera captures position and direction of light rays (40 Megaray sensor).
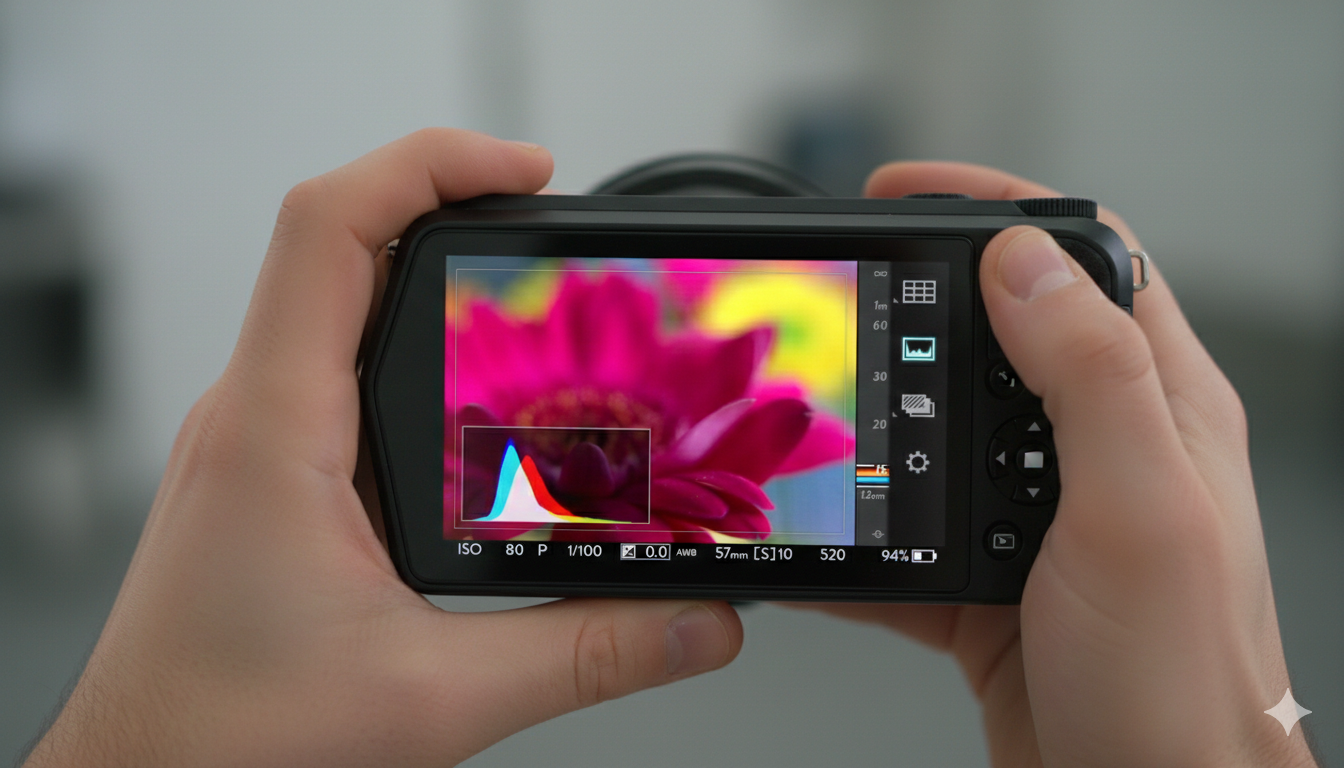
01:56 – 02:40Demonstration of the “Lytro Button” and the real-time depth histogram, which shows the “refocusable” range of a shot before it’s taken.
02:41 – 03:25Showcasing the desktop software. Features include changing the focus point, adjusting depth of field (f-stop), and “Living Pictures” (slight 3D parallax).
03:26 – 04:40Testimonials and examples from professional photographers using the ILLUM for fashion, action, and storytelling.

Core Technical Features Highlighted

  • 40 Megaray Sensor: Unlike traditional megapixel counts, this measures the total number of light rays captured.
  • Custom Lens: An 8x optical zoom (30 – 250mm equivalent) with a constant f/2.0 aperture.
  • Light Field Engine 2.0: The onboard processing power that allows for instant depth feedback on the touchscreen.
  • Living Pictures: The ability to export images as interactive files or animations that pan, tilt, and refocus.

Key Takeaways

The video emphasizes that the Lytro ILLUM isn’t just a camera upgrade, but a new category of imaging. By capturing the “direction” of light, it removes the pressure of getting the focus perfect in the moment, allowing the creator to decide the focus and depth of field during the editing process.

Explore more videos in this series

  1. Introducing Lytro ILLUM
  2. Shooting Simple Living Pictures
  3. Connecting Depth to Living Pictures
  4. Composing for Depth
  5. Exploring Depth of Field